If you own a PC, creating a bootable drive to install Windows is something you should really do. This can be really helpful when you need to install or reinstall Windows 10 to repair your Windows 10 PC.
Creating the drive is a task that may sound complicated and but in reality, it only takes a few clicks of the mouse and a solid internet connection to complete. Here are simple steps through which you can create a Windows 10 Bootable USB drive using Windows 10 Media Creation Tool.
System Requirements
To complete this process, your system must meet the following requirements:
- A reliable internet connection
- A USB drive with at least 8 GB of free space
- Your 25-character product key (you don’t need this for digital purchases).
Create Bootable USB Using Windows 10 media creation tool
Microsoft offers a dedicated tool that you can use to download the Windows 10 system image (also referred to as ISO) and create your bootable USB drive.
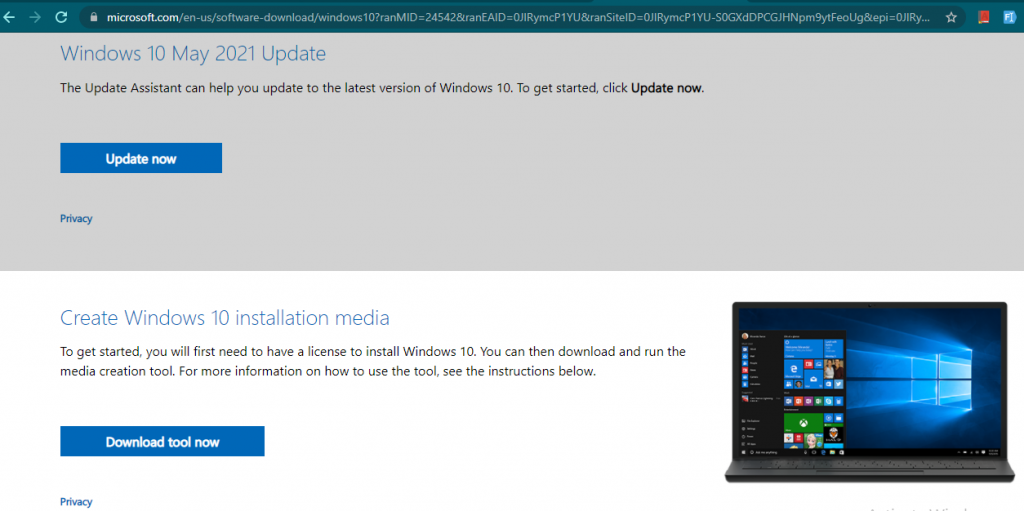
2. Download Media Creation Tool: Go to this page, scroll down to Create Windows 10 Installation Media, and click on the button Download tool now.
2. Run and Install Media Creation Tool: Once downloaded, go to your download folder and double-click the file named MediaCreationToolxxxx to run it. (The last four digits of the file name indicate the version Windows 10 and keeps changing with releases of the new version).
Also Read: Top 10 Tips and Tricks for Windows 10 that makes your life easier
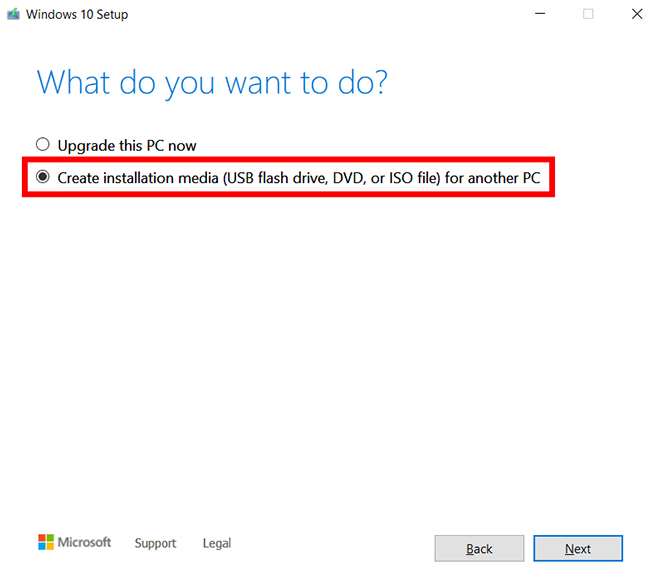
3. Create Installation USB: Accept Microsoft’s terms and conditions when the program opens, then mark the option Create installation media (USB flash drive, DVD, or ISO file) for another PC, and click Next.
4. Select the language, edition, and architecture: You will find the option to select the language, edition, and architecture you intended to use. By default, the tool uses the best options for the PC you’re currently using. If you want to change the option, uncheck the box next to Use the Recommended option.
Also Read Windows 11 beta: New Features, System Requirements, and Release Date.
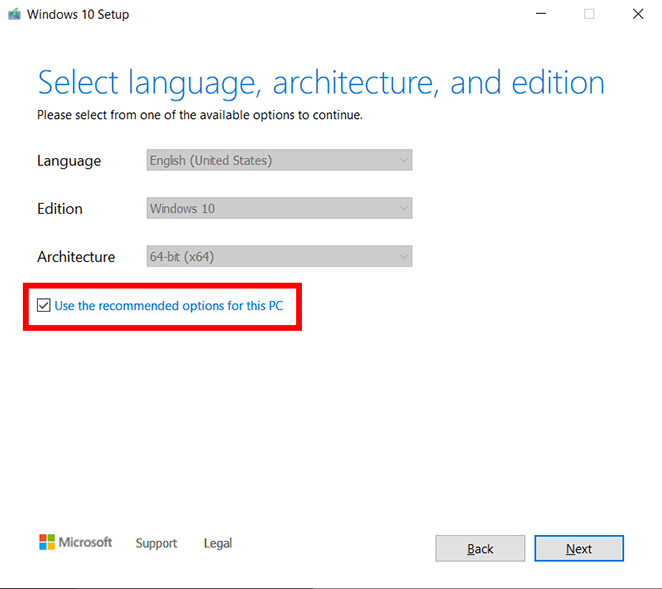
If you are unsure of whether to select 64-bit or 32-bit, select Both from Architecture drop-down.
Click Next, once you’ve adjusted the options.
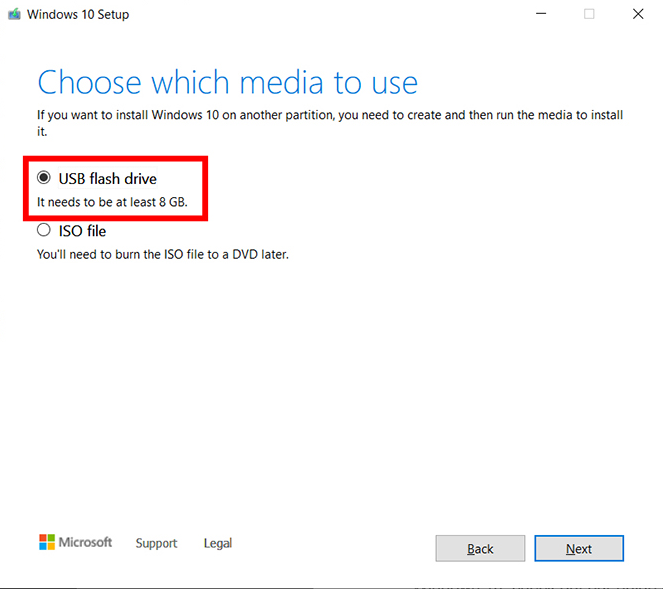
5. Select the removable drive you want to use: Select the option of a USB flash drive( leave it selected if the USB flash drive is already selected).
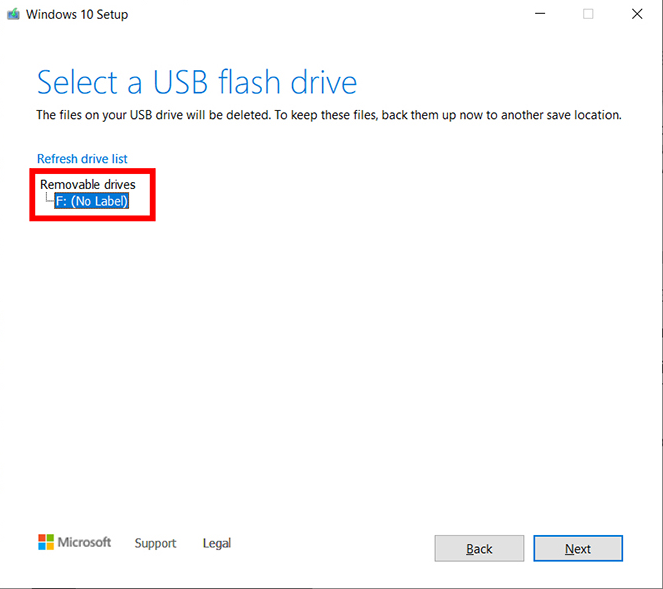
Connect your USB drive to your PC, make sure it is visible in the drive list, and if you don’t see it click refresh drive list.
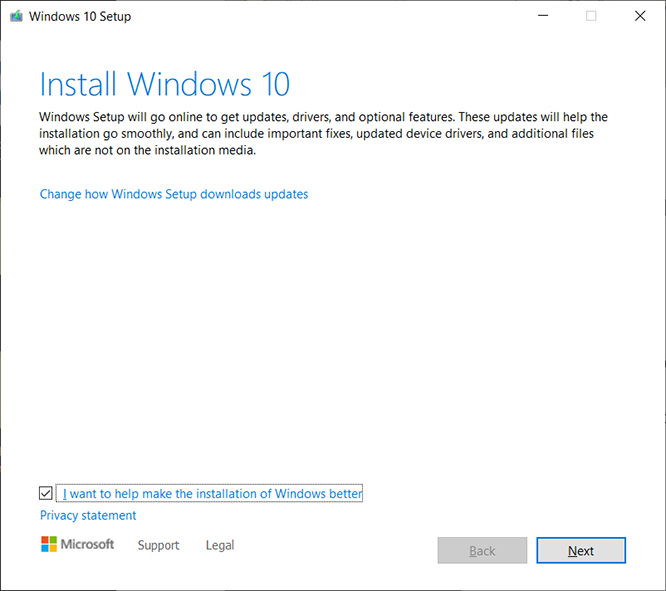
Finish the Process: Once USB Drive is connected, Click Next to continue. You are in Endgame now, Microsoft’s tool will take care of the rest of the process. This process usually takes about 30 minutes, you can take a break or do some browsing in meantime.
When the tool has completed its process, click Finish and remove the USB drive from your computer.
Going forward, if you need to install or reinstall Windows, you can connect the drive to your computer and reboot it.
Now, if you want to install or reinstall Windows, just connect this USB drive to your computer and reboot it. You will see the option to install Windows. If you don’t see it, double-click the setup.exe in the drive to start the installation process.